"When I'm playing Lord of the Rings Online, I want to record me on the highlight moments, how can I do that?"
"I need to record an instructional video on Windows 10, is there a good way to do this?"
"How do I get a video from YouTube recorded and saved?"
In many life and work scenarios, we would like to go and take screenshots, record screens, to save some clips, or explain something complicated to others. Below we will introduce you some good video recording tools.
Guide Listing
Part 1: Screen Recording on Windows 10 with Screen Recorder (Recommend)
Part 2: Screen Recording on Windows 10 with Xbox Game Bar
Part 3: Using PowerPoint for Screen Recording
Part 1: Screen Recording on Windows 10 with Screen Recorder
One of the best screen recorders out there. If you want to capture audio, game screens on Windows 10, then Screen Recorder is always your first choice.
Screen Recorder is an all-in-one desktop software that captures video, records audio, takes snapshots. And the videos, audios and images you get are kept in high quality.
Main advantages of Screen Recorder:
Select the recording or capture area and lock the recording area.
You can choose full screen or custom size.
Add text, arrows, lines and other drawing boards to the video or snapshot.
No Internet connection is required during recording.


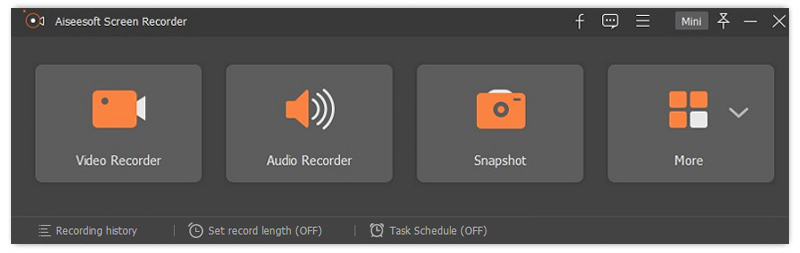
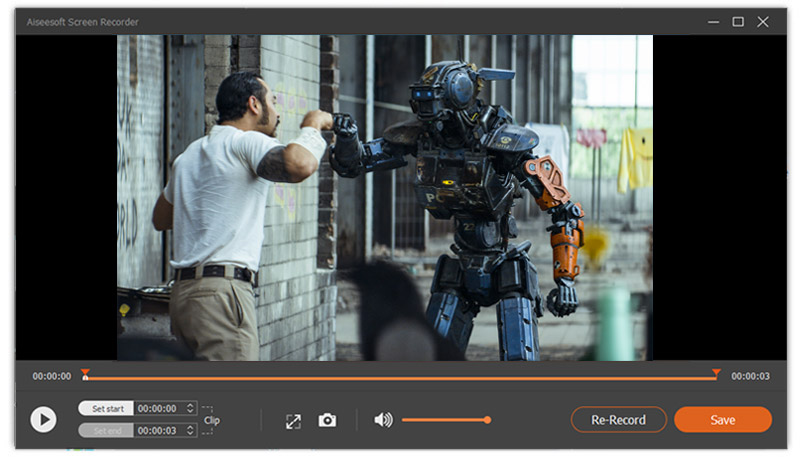
Step 1: After successfully installing the screen recorder, run it. Click on "Video Recording".
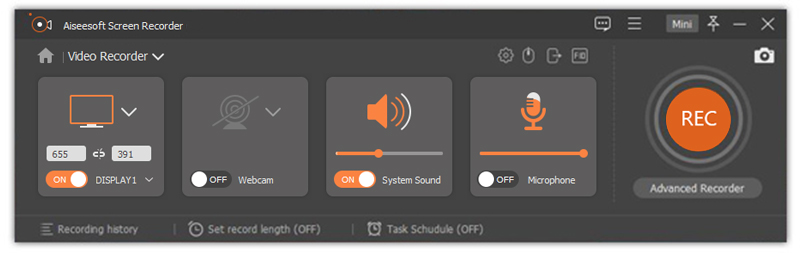
Step 2: You can select full screen or customize the recording window by adjusting the pixels and frames. Then click "REC" on the right to start recording. During the recording process, you can add comments to the video.
Step 3: If you want to stop recording, click the Stop button on the taskbar.
Step 4: Now you can save the recorded video to the path you want.
Part 2: Screen Recording on Windows 10 with Xbox Game Bar
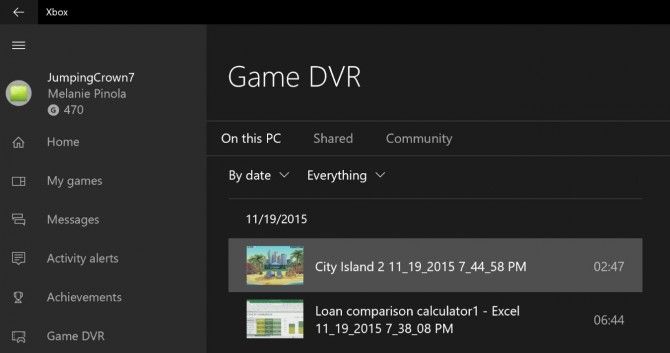
Windows 10 provides us with a screen recording tool called Xbox Game Bar, which allows us to record video, screenshots and audio not only from the game, but also from other applications.
However, the downside of Xbox Game Bar is that it cannot capture certain applications such as File Manager or the entire desktop. Here are a few steps to use Xbox Game Bar for screen recording on Windows 10.
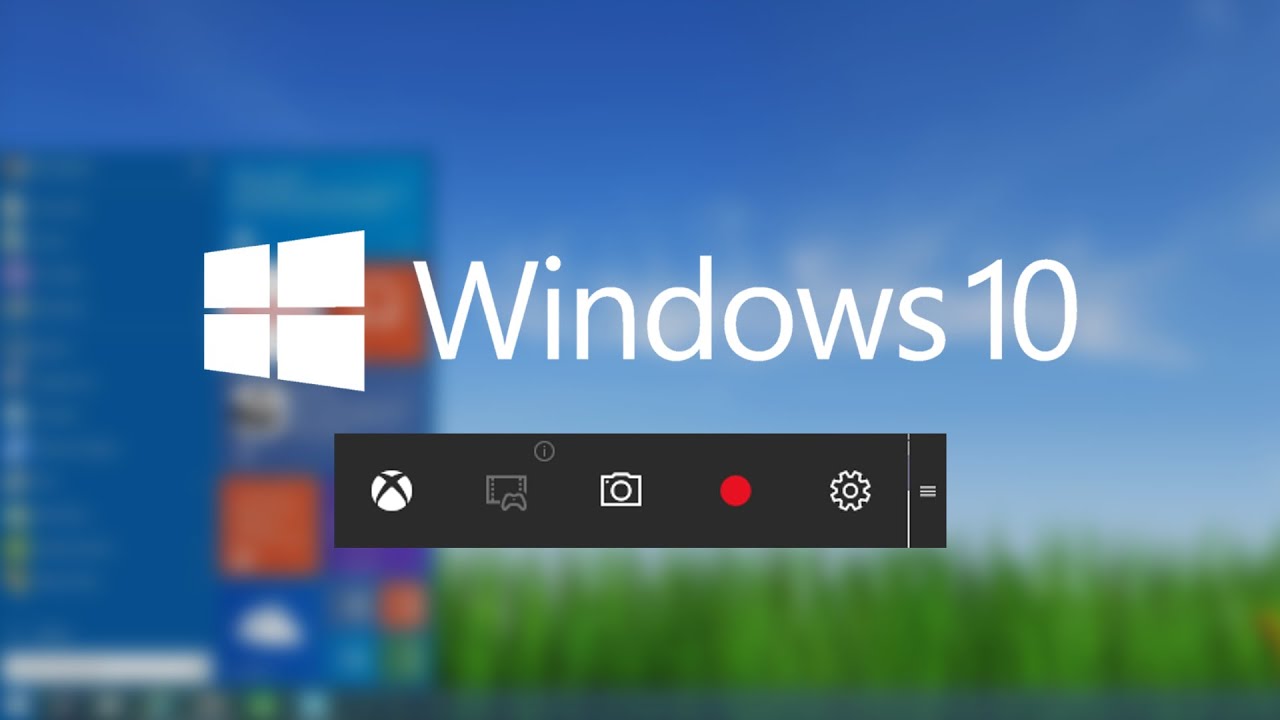
Step 1: Press "Win+G" at the same time to open the Xbox Game Bar toolbar.

Step 2: Check the "Yes, this is a game" box, whether you are screen recording a game or not.
Step 3: Click the Start Recording button, or use the shortcut "Win+Alt+R" to start recording.
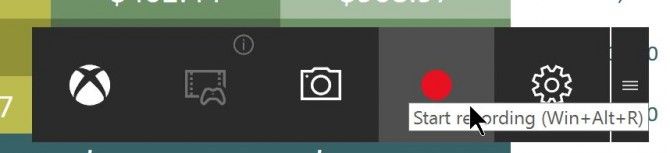
Step 4: Stop the screen recording by clicking the little red circle button. If it disappears from the screen. Press "Win+G" to get it back again.

Tip: If you just want to take a screenshot of your screen, press the shortcut key "Win+Alt+PrtScn".
Part 3: Using PowerPoint for Screen Recording
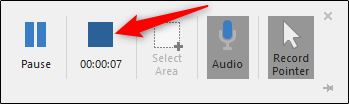
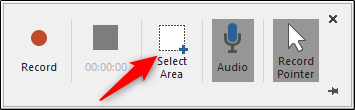
Step 1: Open PowerPoint, select the "Insert" tab, then find "Screen Recording" and click it.
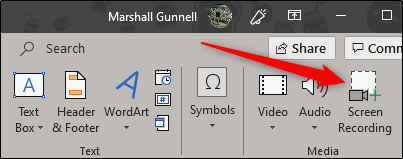
Step 2: Choose "Select Area" and drag the mouse to determine your screen recording area.

Step 3: Click the red dot "Record" button to start recording.
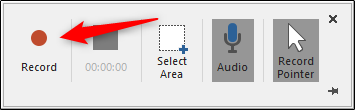
Step 4: When the recording is finished, click Stop.