Recover Your Precious Data from a Broken Screen Samsung S23 with These Top Methods - Samsung S23 Broken Screen Data Recovery.
No one wants to experience a broken Samsung S23 screen, especially when it contains valuable data that has been collected over time. Accidents can happen to anyone, and when they do, it can be a difficult and frustrating experience to try and recover the essential information that was stored on the screen. In conclusion, breaking a Samsung S23 screen can be a frustrating experience, but with the right tools and methods, you can retrieve your data and continue to use your phone effectively. This comprehensive guide has revealed top methods to retrieve your data from a broken Samsung screen in no time, so you can try them and save your valuable information.
Step-by-Step Guide: Recover Data from Broken Screen Samsung S23/Ultra with Physical Damage
It's important to note that data recovery methods can vary depending on the severity of the damage and the specific Samsung device model. Nevertheless, here are five reliable approaches for retrieving your data from a Samsung Broken screen that's not functioning correctly:
- Part 1: Find My Mobile to Reccover Broken Screen Samsung Data
- Part 2: Recover Data with Android Device Manager
- Part 3: Get Back Data with Samsung Kies Software
- Part 4: Recover Broken Samsung Data by Android Data Recovery
- Part 5: Activate USB Debugging and Connect a Mouse
- Part 6: After Your Data Recovered: You Need to Do...
Part 1: Find My Mobile to Reccover Broken Screen Samsung Data
To successfully use this approach, it's essential to have a Samsung account associated with your impaired device. Here's a step-by-step guide on how to recover your data using this method:
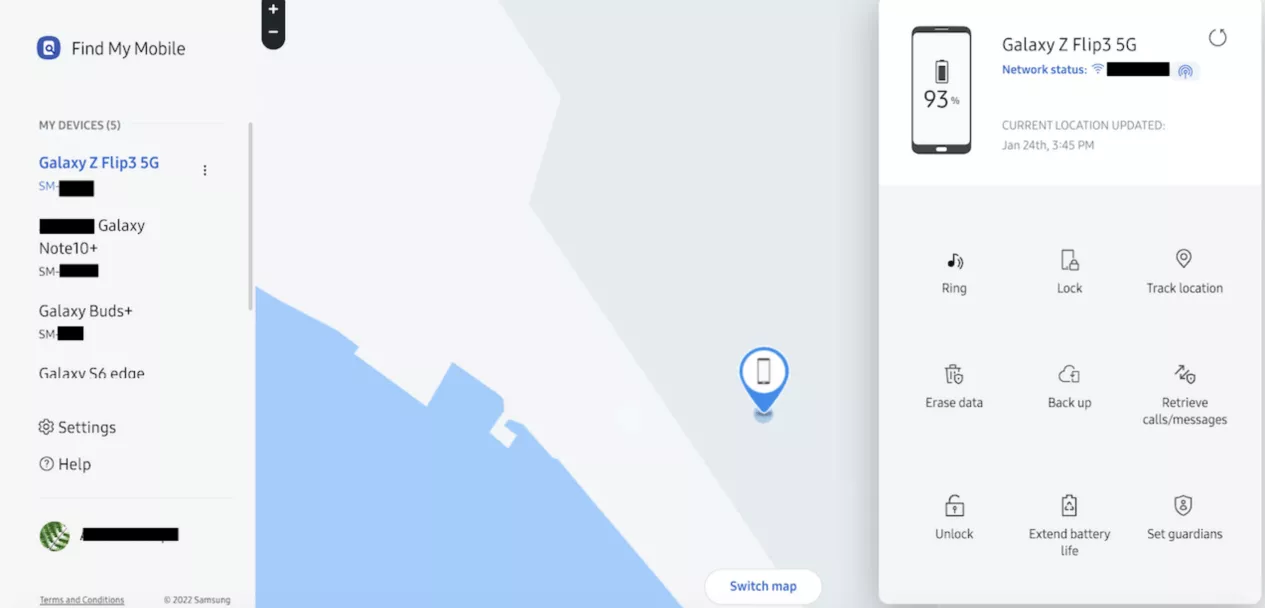
- Visit Samsung's Find My Mobile website and log in with your Samsung account credentials.
- Locate your device on the website's dashboard.
- Under the device controls, choose the "Unlock" option. This will remotely unlock your phone.
- Once your phone is unlocked, connect it to your computer using a USB cable.
- Access the internal storage of your Samsung device and proceed to transfer the desired files to your computer.
Part 2: Recover Data with Android Device Manager
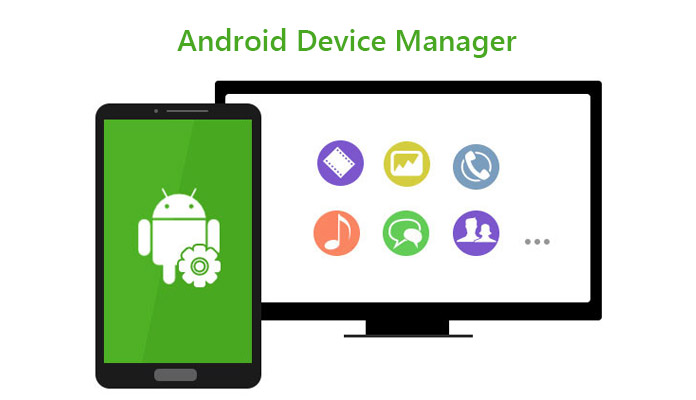
If your damaged device is linked to your Google account, you can attempt to use Google's Android Device Manager. Here's how:
- Visit the Android Device Manager website and log in with your Google account credentials.
- Identify your damaged device on the dashboard.
- Select the "Lock" option to remotely secure your phone.
- Establish a temporary password for accessing your device.
- Connect your Samsung device to a computer via a USB cable.
- Enter your phone using the temporary password.
- Move your files from the device's internal storage to your computer.
Part 3: Get Back Data with Samsung Kies Software
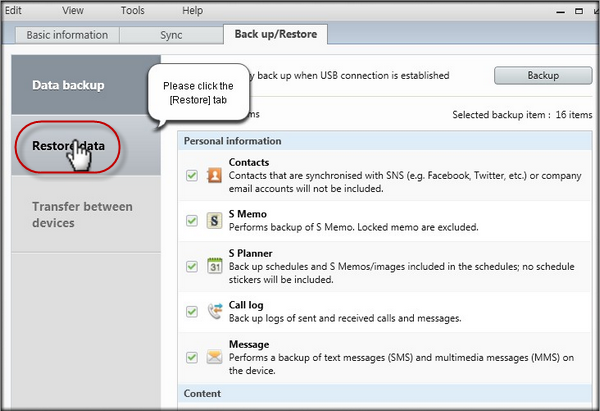
Samsung Kies is a widely used official software application for Samsung devices that enables users to manage and sync files. The software is designed to provide an intuitive and efficient way to transfer files, photos, music, videos, and other data between Samsung devices and other devices. In case you ever need to recover important files that have been deleted or lost, Samsung Kies provides a simple and effective solution.
- Download and install Samsung Kies on your computer.
- Connect your damaged Samsung device to your computer using a USB cable.
- Launch Samsung Kies and wait for it to detect and recognize your device.
- Use the program's interface to navigate through your data.
- Backup and transfer the files you want to recover to your computer.
Part 4: Recover Broken Samsung Data by Android Data Recovery
Syncrestore Android Data Recovery is a robust and efficient software application created specifically for Android data recovery purposes. It employs advanced techniques like deep system scanning and retrieval to successfully recover data from various sources, including Samsung devices with damaged screens, as well as alternative channels like Google Drive and application data. Users can trust Syncrestore to recover their vital data in a secure and reliable manner. The program is user-friendly and offers a limited-time free download. With its advanced capabilities and intuitive interface, Syncrestore is the ideal solution for anyone seeking to retrieve lost or deleted Android data.


Step 1. Download and Start Android Data Recovery
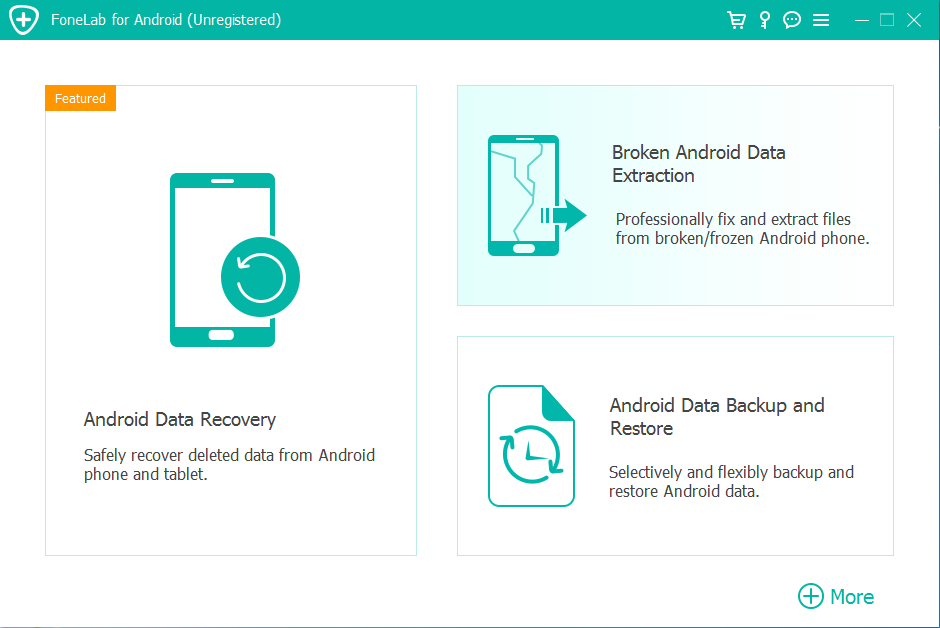
Begin by downloading Android Data Recovery on your computer and launching it. Next, select the 'Broken Android Data Extraction' option.
Once the menu appears, connect your Samsung S23 to the computer via a USB cable
Step 2. Choose the Appropriate Recovery Mode.
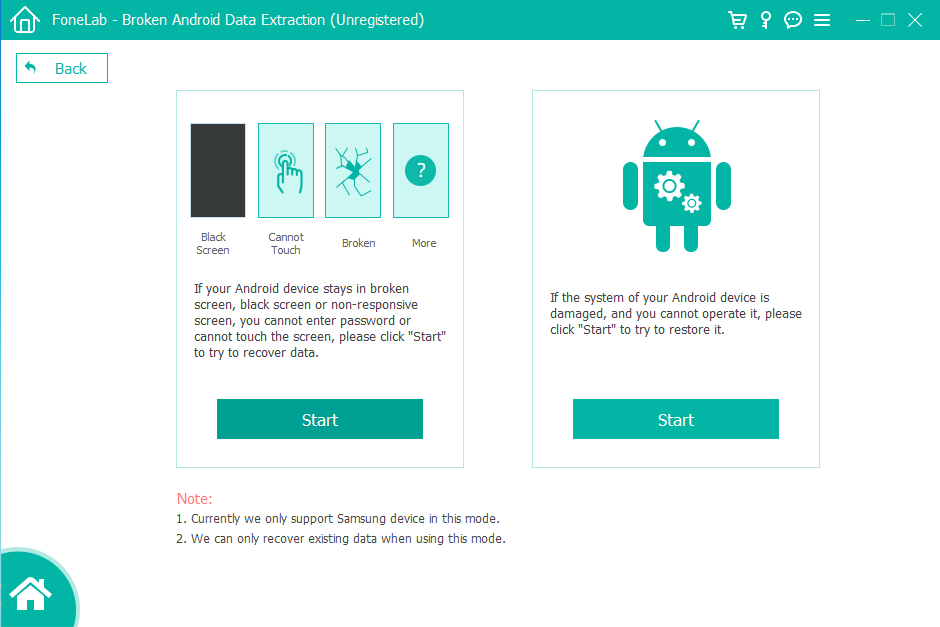
Within the software interface, locate the 'Broken Android Data Extraction' option in the left panel. Once selected, you'll see two choices on the right side of the interface: one for retrieving data from a device with a non-functional screen (either dead or broken), and the other for situations where the phone's system itself is damaged. For our scenario, click on the "Start" button beneath the first option.
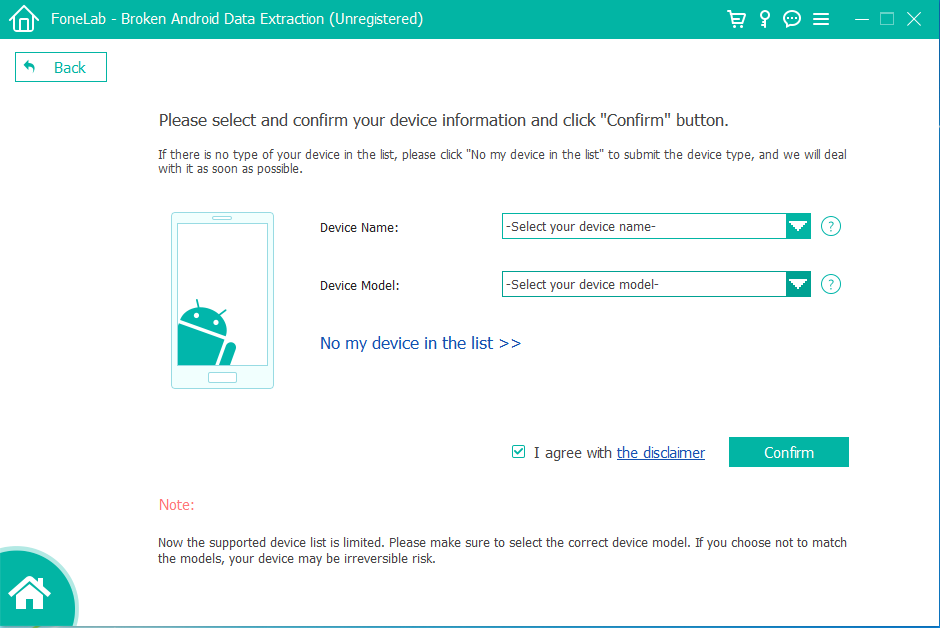
Step 3. Provide Device Information to the Software.
The following screen will present you with two data input fields: Device Name and Device Model. Use the dropdown menus next to each field to select your specific phone model. Afterward, make sure to tick the "I agree" box and then press "Confirm."
Step 4. Access the Download Mode.
Now, it's time to enter the download mode. The software will download a repair package to your phone to resolve the issue and restore your phone to its normal state. Here's how to do it:
- Turn off your phone.
- Press and hold the Volume Down, Home/Menu, and Power buttons all at the same time.
- While holding those buttons, press and hold the Volume Up button.

Step 5. Retrieve Data from the Damaged Samsung Galaxy S23/Ultra.
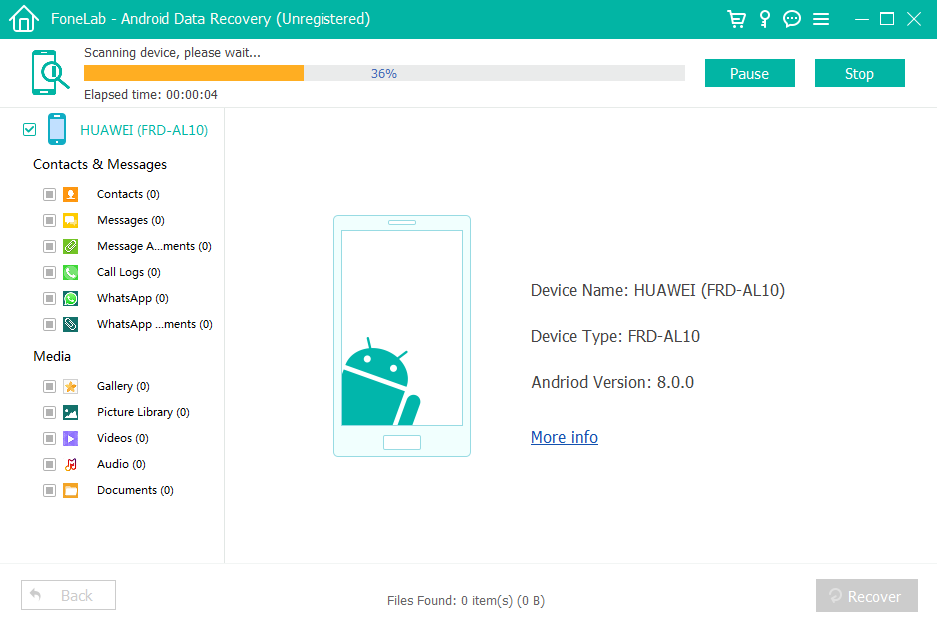
After successfully entering download mode, click on the "Start" button, and the software will initiate a scan. When the scan is complete, you'll be presented with an interface displaying various data categories on the left. You can select these categories in groups or individually and then click the "Recover" button located in the lower right corner to back up the data to your computer.
Part 5: Activate USB Debugging and Connect a Mouse
If your device's USB port allows peripherals to be connected, try connecting a wired or Bluetooth mouse and enabling USB debugging. The following are the specific steps:
- Link your device to a mouse using a USB OTG cable.
- Operate your phone using the mouse.
- Access "Settings," then "Developer Options," and activate "USB Debugging."
- Connect your phone to a computer through a USB cable.
- Shift your data from the device's internal storage to your computer.
Please note that this approach may not be compatible with all Samsung models.
Part 6: After Your Data Recovered: You Need to Do...
Successfully recover data from broken Samsung screen is a significant win for both the user and the manufacturer. Here are some tips to keep in mind after the process is completed:First, it is essential to assess the damage to the screen. If the damage is significant, it may be necessary to replace the screen entirely. However, if the damage is minor, it may be possible to repair it. If the screen is repairable, there are a few steps that can be taken to try and repair it. This may include cleaning the screen with a soft cloth and applying pressure to see if the screen will move freely. If the screen does move freely, it may be a good idea to use a non-abrasive screen cleaner to remove any debris that may be causing the screen to not function properly. If the screen is not repairable, it may be necessary to replace it. In this case, it is important to purchase a screen that has the same specifications as the original screen, so that the user will not experience any performance issues. Once the new screen is installed, it is important to follow the manufacturer's instructions for installation and to use it correctly to ensure that it will function properly. This may include setting up the screen for use, applying any necessary security measures , and using it in a safe and secure location.In conclusion, recovering data from a broken Samsung screen is a significant win for both the user and the manufacturer. By following these tips, users can minimize the risk of further damage to the screen and ensure that their device continues to function properly.
- To avoid potential data loss in the future, it's essential to establish a routine data backup process.
- Furthermore, safeguard your device by using a durable protective case and a tempered glass screen protector.
- Always inspect the quality of your charging cables and accessories to minimize the risk of screen damage.
Conclusion
If you own a Samsung device with a broken screen and need to recover important data, you have found the right solution. By following these professionally screened methods and considerations, you now have the knowledge and skills required to recover necessary data from Samsung devices. Now, you can start applying these new skills to repair your devices and protect your valuable information. First, you need to make sure that your device has backed up all necessary data. If the device does not have a backup function, it should be backed up as soon as possible to prevent data loss. Backup data can be data stored on the device or data stored in the cloud. Whichever method you choose, always make sure your backup data is up to date and complete. Next, you need to know how to fix a broken screen. You can try some common methods, such as gently wiping the screen surface with an eraser, or using a professional screen repair service. If you've tried these methods and your screen is still broken, you may want to consider replacing your screen. If you decide to replace your screen, make sure you choose a reliable supplier and read product reviews and ratings carefully before purchasing. Also check out some official Samsung repair guides to make sure you have the necessary knowledge and skills before undertaking any repairs. Finally, the new screen needs to be protected to ensure it's safe and durable. Some measures you can take include avoiding exposing your device to sunlight or moisture, avoiding using unsuitable cleaners or chemicals, and being careful not to place heavy objects on your device. If you need to recover data from a broken Samsung device, you now have enough knowledge and skills. By following the above methods and taking necessary precautions, you can effectively protect the security of your device and data.


